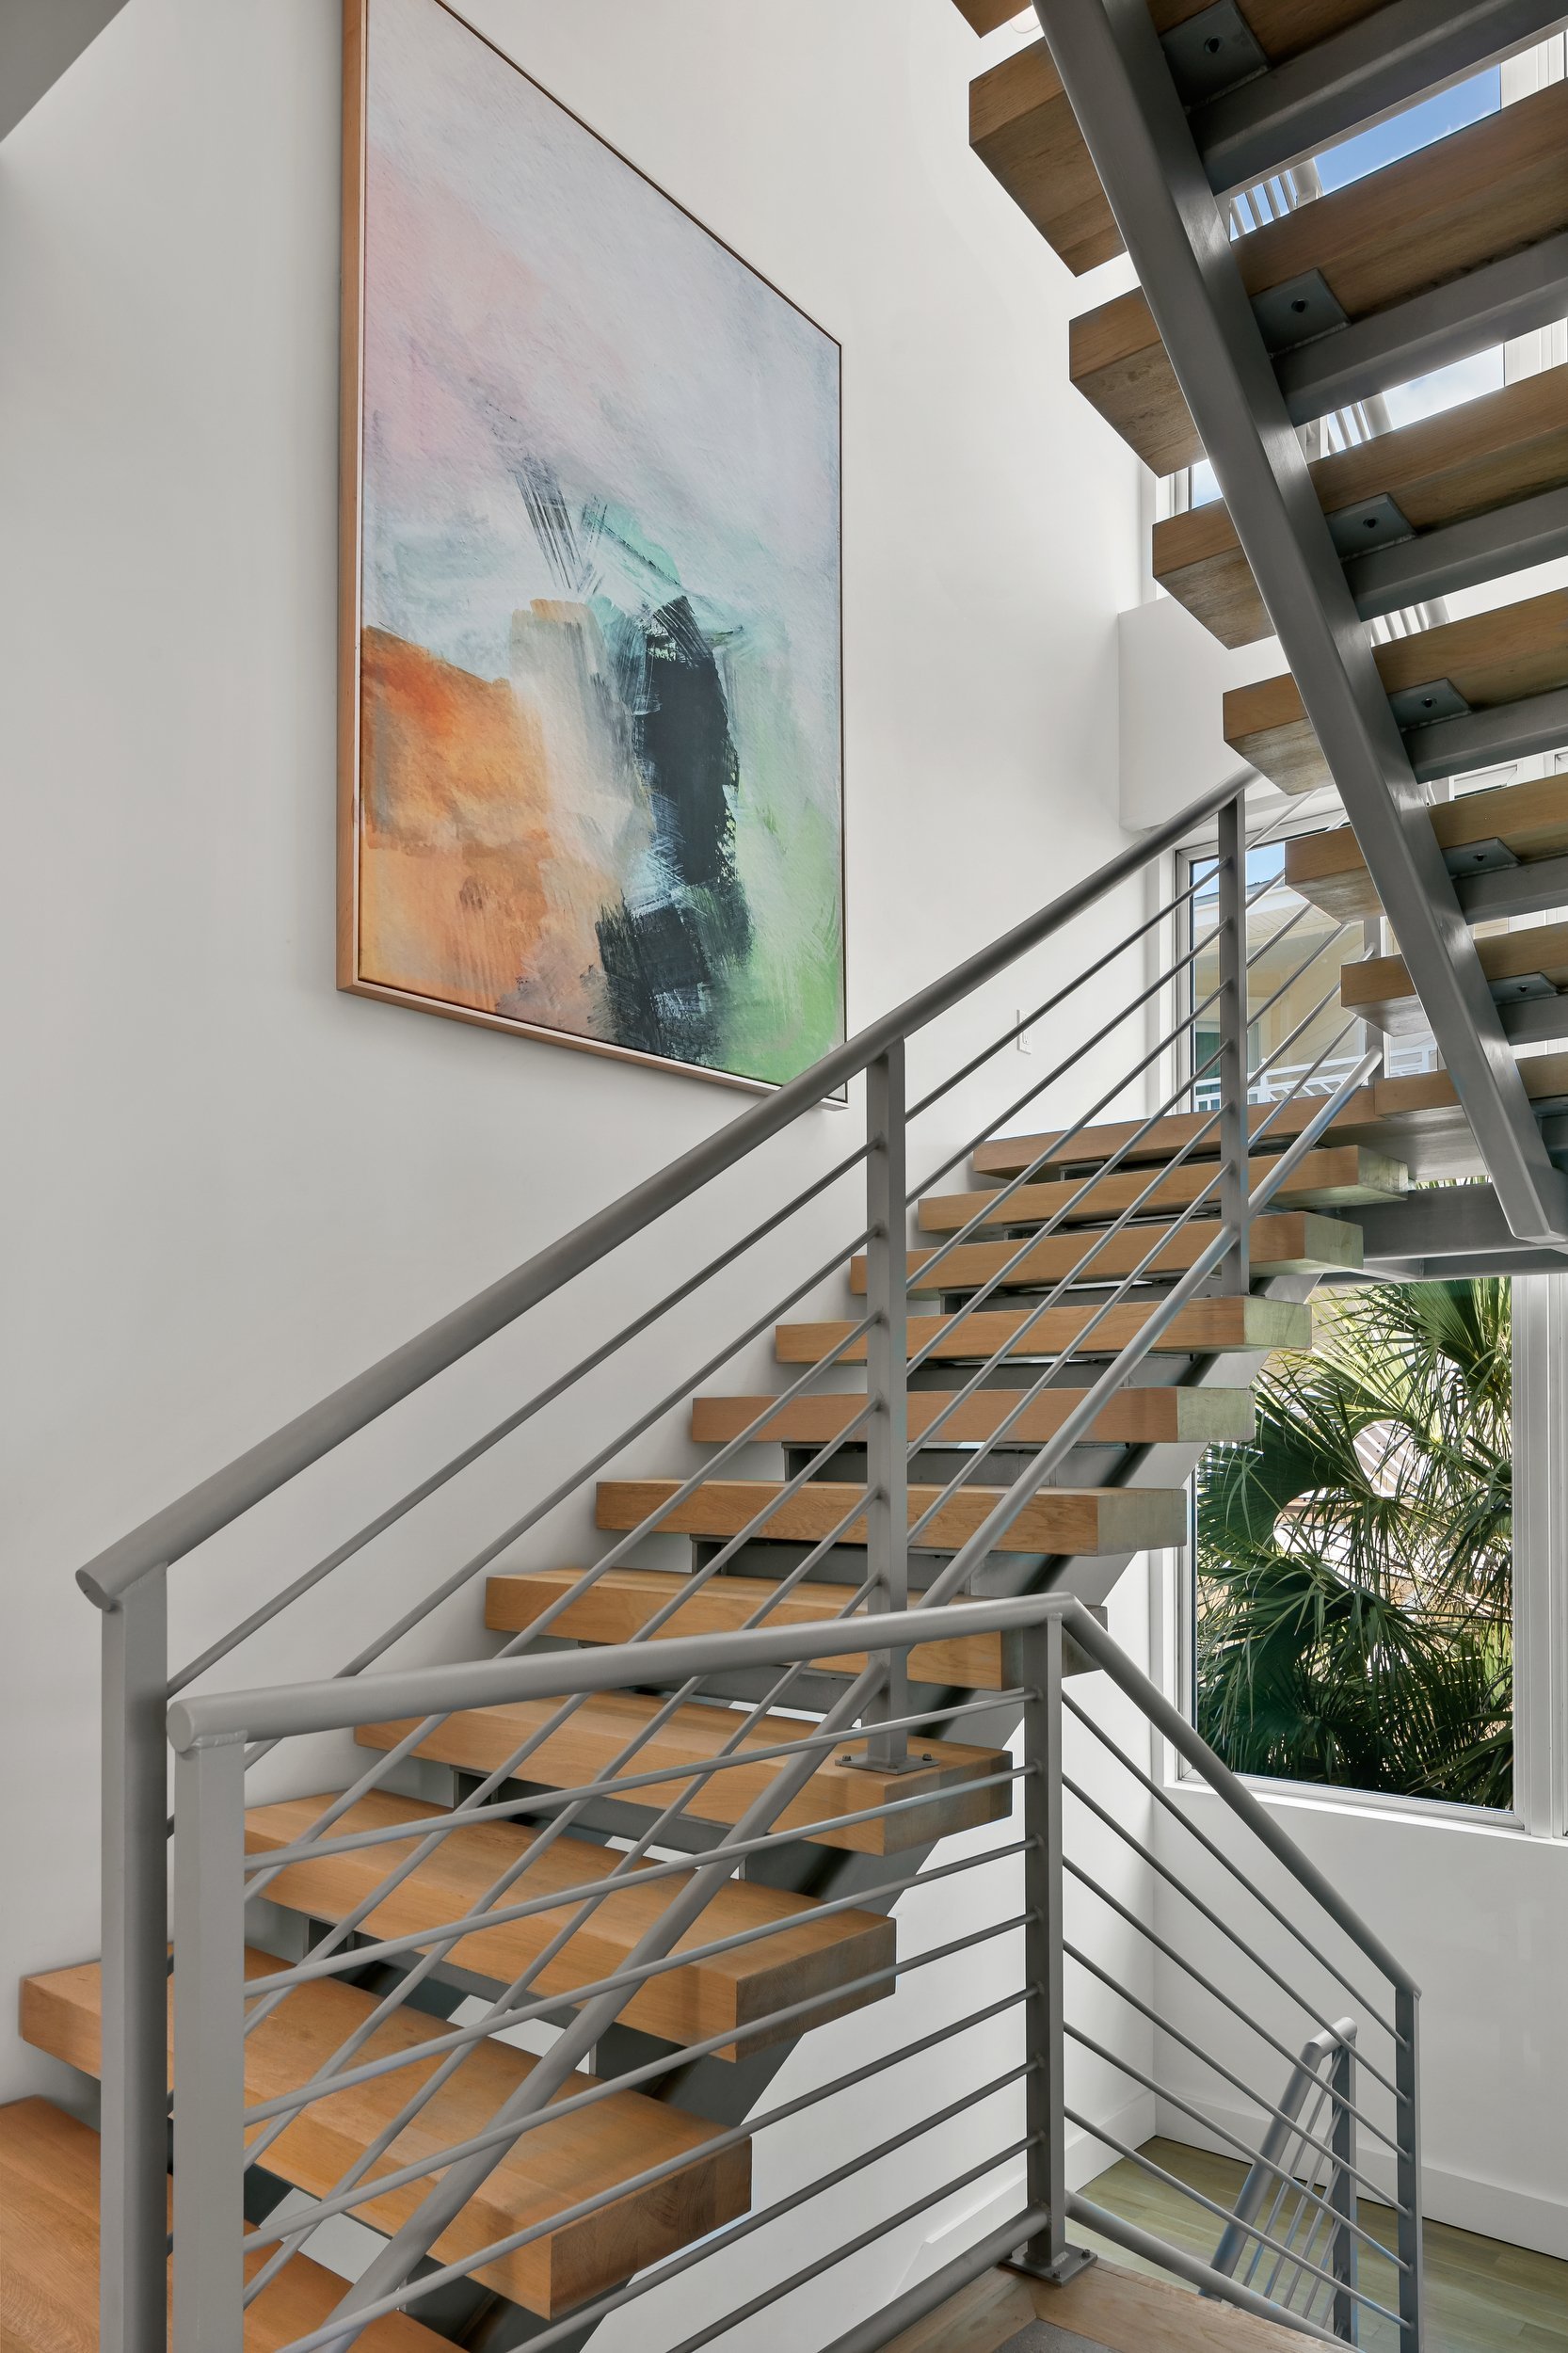
How to Properly Hang Artwork
Artwork can completely make or break a room. There are so many variables at play, from the art and frame you choose, to the way it is mounted on your walls. Don’t let the intimidation associated with hanging art, keep you from investing in quality artwork from talented artists. At HSH Collective, one of our favorite aspects of working with interior design clients is the process of choosing artwork that will add visual interest to the space.
Preparation is Key
Before you start hammering holes in your beautifully painted walls, you need to have a plan. The first thing we take into consideration is the type of walls you have as each kind will have their own approach and technique. Do you have wood, drywall or brick? Is there a stud in place for your heavy focal piece? Making sure you have the right nails to support the weight of your artwork is key to avoid ruining the integrity of your walls and lowers the risk of your picture falling later on.
You will also want to visually plan for what specifically will hang on the wall in relation to your furniture and other wall art. Whether you are adding just one piece to your wall, or completely re-designing a wall in your home, we recommend giving it some serious thought before you bring out the hammer and nails.
Make Sure the Artwork Matches the Interior
Artwork is meant to inspire you and add beauty to your home. It should reflect your lifestyle and who you are. Are you a minimalist who thrives on organization and a monochromatic look? Keep within your color scheme and pick simple pieces arranged in a grid. Are you into breaking the rules of design and prefer a more relaxed, boho look? Mix-and-match pieces and hang them gallery style. Whatever your style might be, it is important that the pieces spark joy and make you feel at home in your space. It should feel like your home, not someone else’s.
Hang Artwork at Eye Level
Hanging artwork at eye level not only makes it easier for everyone to view and appreciate the artwork itself, but it gives balance to the room by providing a natural focal point. A good rule of thumb is 60 inches, or five feet, from the floor to the center of the piece. Measure the 60 inches from the floor, marking it with a pencil. Then measure the back of your artwork from the center to the place where the nail will go. Mark that distance on the wall above your previous measurement. Voila! You have your nail mark.
When hanging above furniture, the general rule is the bottom of the art piece should be 4-6 inches above the top of the furniture. Follow the same measurement plan as you would for hanging other artwork, but measure from the bottom edge instead of the center of the painting.
Create Balance
You’ll hear us say this again and again when designing any space, big or small. Balance is the key to creating a beautiful room. Consider the other elements of your space. Do you have floor-to-ceiling windows with a water view on one side? Hang your artwork or a mirror on the opposite side of the room to balance the visual weight from the beauty coming from the other side. Is your comfy sectional pushed against one wall with your tv and entertainment center on the other? Hang your artwork 4-6 inches from the back of your couch.
It’s important to have balance when arranging multiple pieces of art. One trick is to treat multiple, smaller pieces as if they were one big oversized piece of artwork. Use your 60 inches or 4-6 inches rule. Pieces that are identical in size and shape can be placed side by side or staggered. Having an odd number of pieces can be used to your advantage since it naturally gives a focal point to the eye.

